


自定义 Spring Boot Starter 封装 API 请求日志切面业务组件
本文最后更新于 2026-02-04,文章内容可能已经过时。
自定义 Spring Boot Starter: 封装 API 请求日志切面业务组件
本小节中,我们将自定义一个 Spring Boot Starter 组件,将 API 请求日志切面功能封装进去,后续新建新的服务时,只需添加这个 starter , 即可拿来即用。
1. 什么是 Spring Boot Starter ?
Spring Boot Starter 就像是一个“工具包”,里面已经包含了你所需要的东西。它们把一些常用的功能和技术打包好了,比如处理数据库、处理 Web 请求等等。你只需要在你的项目中引入这些 Starter,它们就会自动帮你配置好所需的依赖项和参数。这样,你就可以省去很多繁琐的配置工作。
举个栗子,当你想要使用 Spring Boot 开发一个 Web 应用时,只需要引入 spring-boot-starter-web Starter。这个 Starter 包含了一系列依赖项和配置,使得开发 Web 应用变得更加简单。
具体来说,引入 spring-boot-starter-web Starter 后,你可以享受到以下好处:
- 内嵌的 Web 服务器支持:Spring Boot 内置了多种 Web 服务器支持,比如 Tomcat、Jetty、Undertow。
spring-boot-starter-web会自动配置一个默认的 Web 服务器,你无需手动配置即可启动你的应用。 - Spring MVC 框架支持:Spring Boot 基于 Spring MVC 构建了强大的 Web 开发框架,包括了控制器、视图解析器等。引入
spring-boot-starter-web后,你可以直接使用 Spring MVC 来处理 Web 请求。 - 静态资源支持:
spring-boot-starter-webStarter 自动配置了对静态资源(如 HTML、CSS、JavaScript 文件)的处理,你可以直接在项目中放置这些文件,Spring Boot 就能够正确地访问它们。 - 自动配置:Spring Boot 会根据你的 classpath 自动配置应用程序。比如,如果你引入了
spring-boot-starter-web,Spring Boot 就会自动配置 DispatcherServlet、ViewResolver 等关键组件,从而让你的 Web 应用能够顺利地工作起来。
简而言之,Spring Boot Starter 是一种方便的方式,让你能够更快、更轻松地开始使用 Spring Boot 框架,并集成各种常用功能和技术。
2. 自定义 Spring Boot Starter
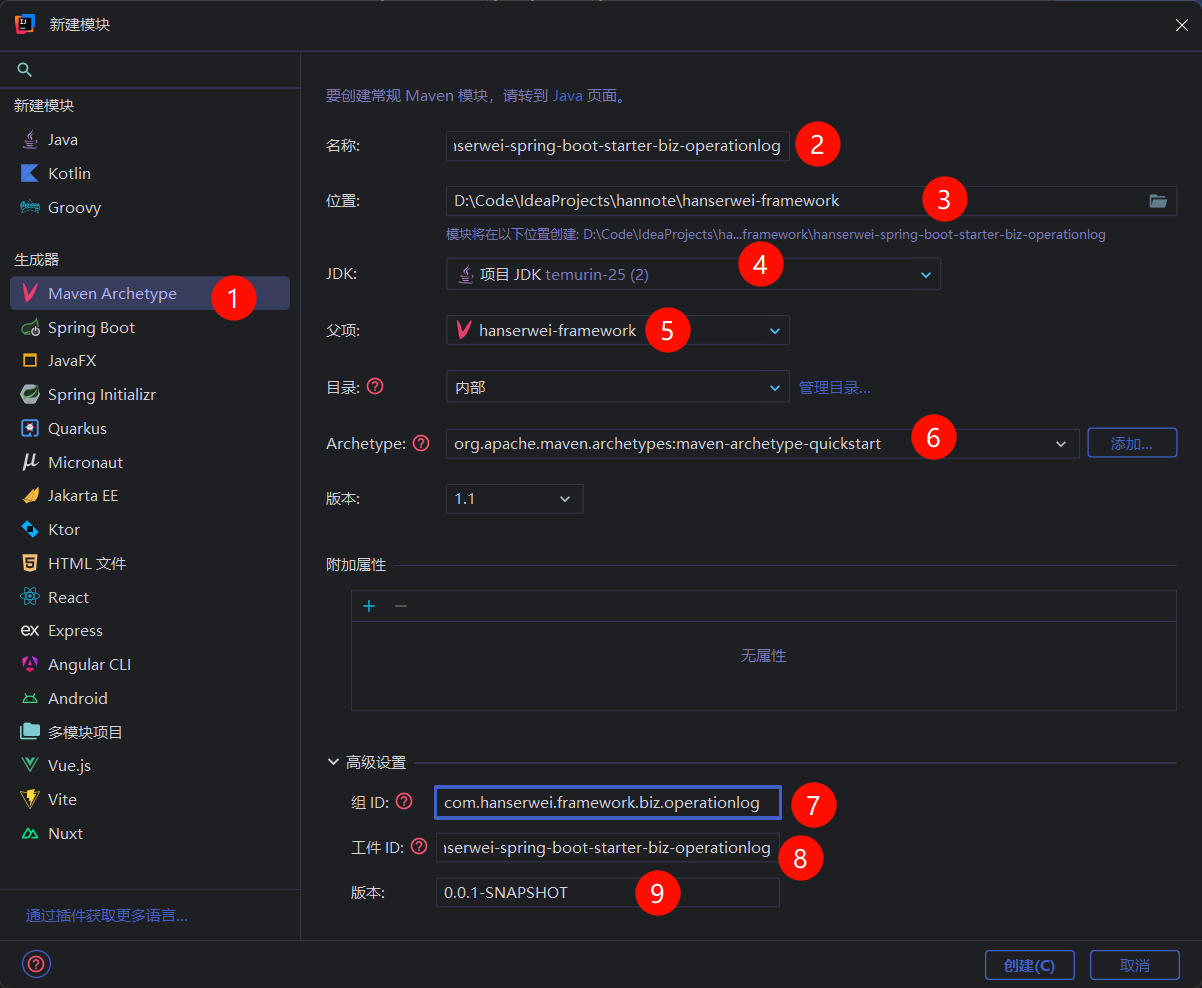
在 hanserwei-framewrok 模块上,继续右键 | New | Module... , 为基础设施层添加新的子模块 —— 业务日志切面组件:

填写相关选项,如下图所示:
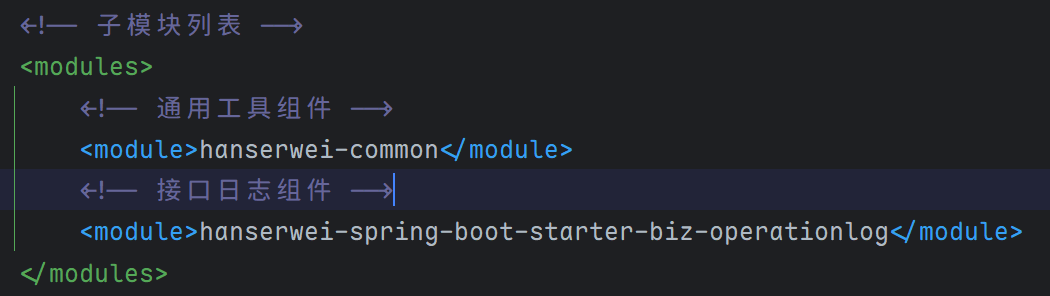
点击 Create 按钮,开始创建子模块,创建完成后,查看 hanserwei-framework 模块的 pom.xml 文件,可以看到 <modules> 节点下自动添加好了该子模块:
编辑切面日志组件的 pom.xml 文件,内容如下:
<project xmlns="http://maven.apache.org/POM/4.0.0" xmlns:xsi="http://www.w3.org/2001/XMLSchema-instance"
         xsi:schemaLocation="http://maven.apache.org/POM/4.0.0 http://maven.apache.org/xsd/maven-4.0.0.xsd">
    <modelVersion>4.0.0</modelVersion>

    <!-- 父项目配置 -->
    <parent>
        <groupId>com.hanserwei</groupId>
        <artifactId>hanserwei-framework</artifactId>
        <version>${revision}</version>
    </parent>

    <!-- 当前模块的artifactId -->
    <artifactId>hanserwei-spring-boot-starter-biz-operationlog</artifactId>
    <!-- 打包方式:jar包 -->
    <packaging>jar</packaging>

    <!-- 项目名称 -->
    <name>hanserwei-spring-boot-starter-biz-operationlog</name>
    <!-- 项目描述:接口日志组件 -->
    <description>接口日志组件</description>

    <!-- 项目属性配置 -->
    <properties>
        <!-- 项目构建时的源码编码格式 -->
        <project.build.sourceEncoding>UTF-8</project.build.sourceEncoding>
    </properties>

    <!-- 项目依赖 -->
    <dependencies>
        <!-- 公共工具依赖 -->
        <dependency>
            <groupId>com.hanserwei</groupId>
            <artifactId>hanserwei-common</artifactId>
        </dependency>

        <!-- Spring Boot AOP切面支持,用于实现操作日志的切面拦截 -->
        <dependency>
            <groupId>org.springframework.boot</groupId>
            <artifactId>spring-boot-starter-aspectj</artifactId>
        </dependency>
    </dependencies>
</project>
注意:在Spring Boot 4中AOP的Starter名称变了!

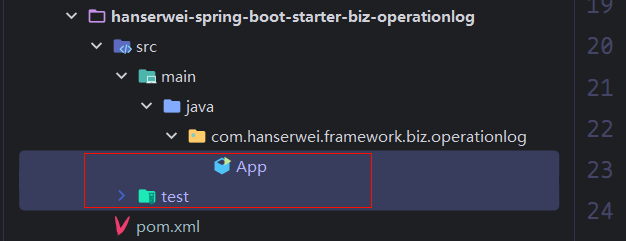
接着,将一些不需要的类删除掉:
3. 添加 JSON 工具类
由于在日志切面 starter 组件中,需要以 json 的格式打印出参,所以,我们需要先封装一个 Json 工具类。由于我们在最外层已经导入了pom文件,里面已经定义了Jackson的版本信息。所有我们不用再显示指定!
编辑 hanserwei-common 公共模块的 pom.xml, 添加 Jackson 相关依赖:
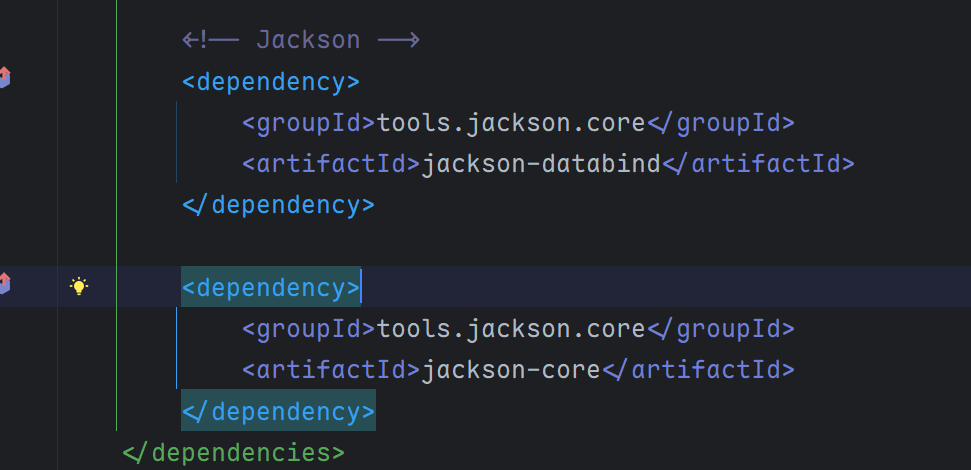
注意:Jackson3的包名变了而且有关Java8的新日期API也已经合并到Jackson3中了,不用再额外引入了!
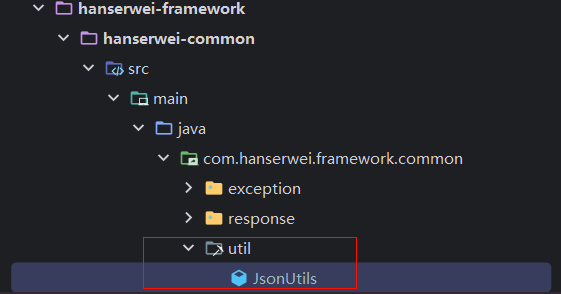
在 hanserwei-common 模块中,新建一个 util 工具包,用于统一放置相关工具类,并创建 JsonUtils , 如下图所示:
代码如下:
package com.hanserwei.framework.common.util;

import tools.jackson.databind.DeserializationFeature;
import tools.jackson.databind.SerializationFeature;
import tools.jackson.databind.json.JsonMapper;

/**
 * JSON 工具类,提供对象与 JSON 字符串之间的转换功能
 *
 * @author hanser
 */
public class JsonUtils {

    /**
     * 初始化 Jackson 的 JsonMapper 实例
     */
    private static final JsonMapper JSON_MAPPER = JsonMapper.builder()
            // 在反序列化时,忽略在 JSON 中存在但 Java 对象中不存在的属性,防止报错
            .configure(DeserializationFeature.FAIL_ON_UNKNOWN_PROPERTIES, false)
            // 在序列化时,允许序列化空的 POJO 类(没有属性的类),防止报错
            .configure(SerializationFeature.FAIL_ON_EMPTY_BEANS, false)
            // 自动查找并注册所有的 Jackson 模块(如 Java 8 时间模块等)
            .findAndAddModules()
            .build();

    /**
     * 将对象序列化为 JSON 字符串
     *
     * @param object 需要转换的对象
     * @return 转换后的 JSON 字符串
     */
    public static String toJsonString(Object object) {
        return JSON_MAPPER.writeValueAsString(object);
    }
}
4. 添加日志切面
Json 工具类编写完成后,回到日志切面 starter 组件中,创建 /aspect 包,用于放置切面相关的类,在里面添加自定义注解以及切面,这块的代码就是很经典的AOP的代码,不做赘述,直接拿过用就行:
package com.hanserwei.framework.biz.operationlog.aspect;

import java.lang.annotation.*;

/**
 * @author hanser
 */
@Retention(RetentionPolicy.RUNTIME)
@Target({ElementType.METHOD})
@Documented
public @interface ApiOperationLog {
    /**
     * API 功能描述
     *
     */
    String description() default "";

}
package com.hanserwei.framework.biz.operationlog.aspect;

import com.hanserwei.framework.common.util.JsonUtils;
import lombok.extern.slf4j.Slf4j;
import org.aspectj.lang.ProceedingJoinPoint;
import org.aspectj.lang.annotation.Around;
import org.aspectj.lang.annotation.Aspect;
import org.aspectj.lang.annotation.Pointcut;
import org.aspectj.lang.reflect.MethodSignature;

import java.lang.reflect.Method;
import java.util.Arrays;
import java.util.function.Function;
import java.util.stream.Collectors;

/**
 * API操作日志切面
 *
 * @author hanser
 */
@Aspect
@Slf4j
public class ApiOperationLogAspect {

    /**
     * 定义切点:以自定义 @ApiOperationLog 注解为切点,凡是添加 @ApiOperationLog 的方法,都会执行环绕中的代码
     */
    @Pointcut("@annotation(com.hanserwei.framework.biz.operationlog.aspect.ApiOperationLog)")
    public void apiOperationLog() {}

    /**
     * 环绕通知:记录API操作日志
     *
     * @param joinPoint 连接点
     * @return 方法执行结果
     * @throws Throwable 方法执行异常
     */
    @Around("apiOperationLog()")
    public Object doAround(ProceedingJoinPoint joinPoint) throws Throwable {
        // 请求开始时间
        long startTime = System.currentTimeMillis();

        // 获取被请求的类和方法
        String className = joinPoint.getTarget().getClass().getSimpleName();
        String methodName = joinPoint.getSignature().getName();

        // 请求入参
        Object[] args = joinPoint.getArgs();
        // 入参转 JSON 字符串
        String argsJsonStr = Arrays.stream(args).map(toJsonStr()).collect(Collectors.joining(", "));

        // 功能描述信息
        String description = getApiOperationLogDescription(joinPoint);

        // 打印请求相关参数
        log.info("====== 请求开始: [{}], 入参: {}, 请求类: {}, 请求方法: {} =================================== ",
                description, argsJsonStr, className, methodName);

        // 执行切点方法
        Object result = joinPoint.proceed();

        // 执行耗时
        long executionTime = System.currentTimeMillis() - startTime;

        // 打印出参等相关信息
        log.info("====== 请求结束: [{}], 耗时: {}ms, 出参: {} =================================== ",
                description, executionTime, JsonUtils.toJsonString(result));

        return result;
    }

    /**
     * 获取注解的描述信息
     *
     * @param joinPoint 连接点
     * @return 注解描述信息
     */
    private String getApiOperationLogDescription(ProceedingJoinPoint joinPoint) {
        // 1. 从 ProceedingJoinPoint 获取 MethodSignature
        MethodSignature signature = (MethodSignature) joinPoint.getSignature();

        // 2. 使用 MethodSignature 获取当前被注解的 Method
        Method method = signature.getMethod();

        // 3. 从 Method 中提取 ApiOperationLog 注解
        ApiOperationLog apiOperationLog = method.getAnnotation(ApiOperationLog.class);

        // 4. 从 ApiOperationLog 注解中获取 description 属性
        return apiOperationLog.description();
    }

    /**
     * 转换为 JSON 字符串
     *
     * @return 转换函数
     */
    private Function<Object, String> toJsonStr() {
        return JsonUtils::toJsonString;
    }

}
5. starter 自动配置
接下来,就是自定义 starter 的重头戏 —— 自动配置。新建一个 /config 包,并创建日志切面自动配置类,如下图所示:
package com.hanserwei.framework.biz.operationlog.config;

import com.hanserwei.framework.biz.operationlog.aspect.ApiOperationLogAspect;
import org.springframework.boot.autoconfigure.AutoConfiguration;
import org.springframework.context.annotation.Bean;

/**
 * @author hanser
 */
@AutoConfiguration
public class ApiOperationLogAutoConfiguration {

    @Bean
    public ApiOperationLogAspect apiOperationLogAspect() {
        return new ApiOperationLogAspect();
    }
}
这是一个自动配置类,用于配置 API 操作日志记录功能,并且通过
@Bean注解的apiOperationLogAspect()方法来创建一个ApiOperationLogAspect实例,以实现注入到 Spring 容器中。
接着,在 /main 文件夹下,创建 /resources 包,再创建 /META-INF 文件夹,再在里面创建 /spring 文件夹 , 以及 org.springframework.boot.autoconfigure.AutoConfiguration.imports 文件,注意,这是自定义 starter 固定步骤,需要严格按照此格式来书写,如下图所示:

注意在创建多级目录的时候要使用
/而不是.
imports 文件中内容如下,填写 ApiOperationLogAutoConfiguration 配置类的完整包路径:
com.hanserwei.framework.biz.operationlog.config.ApiOperationLogAutoConfiguration
至此,自定义 starter 步骤就完成了。
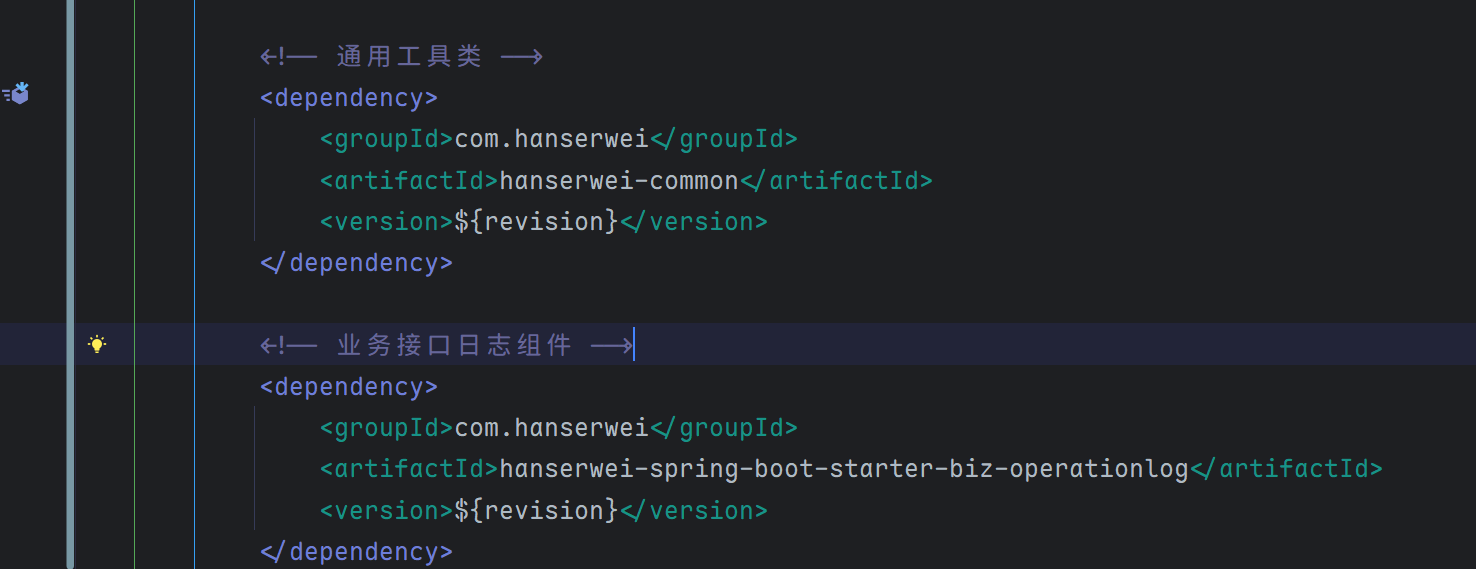
6. 统一版本控制
接下来,我们想在 hannote-auth 认证服务中使用刚刚封装好的 starter 组件。回到最外层的 pom.xml , 声明该组件依赖以及版本号:
7. 使用 starter
接着,编辑 hanserwei-auth 认证服务的 pom.xml , 添加日志切面 starter 的依赖, 代码如下:
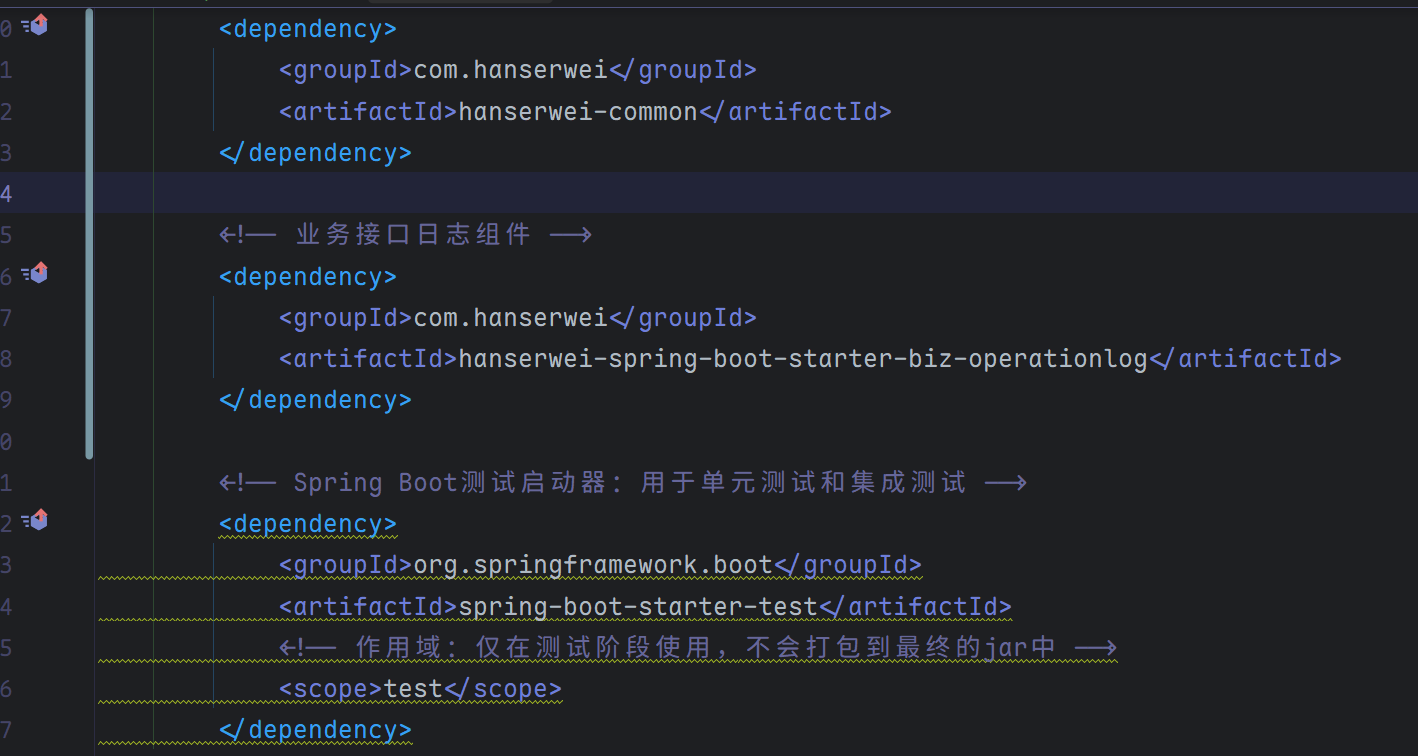
若出现爆红问题,点击右侧 Reload 按钮,重新刷新一下 Maven 依赖。最后,为 /test 接口添加 @ApiOperationLog 日志切面注解:
package com.hanserwei.hannote.auth.controller;

import com.hanserwei.framework.biz.operationlog.aspect.ApiOperationLog;
import com.hanserwei.framework.common.response.Response;
import org.springframework.web.bind.annotation.GetMapping;
import org.springframework.web.bind.annotation.RestController;

/**
 * @author hanser
 */
@RestController
public class TestController {

    @GetMapping("/test")
    @ApiOperationLog
    public Response<String> test() {
        return Response.success("Hello, Hanserwei!");
    }
}
重启项目, 浏览器访问 localhost:8080/test 接口,自测一波,看看日志切面是否能够正常工作:
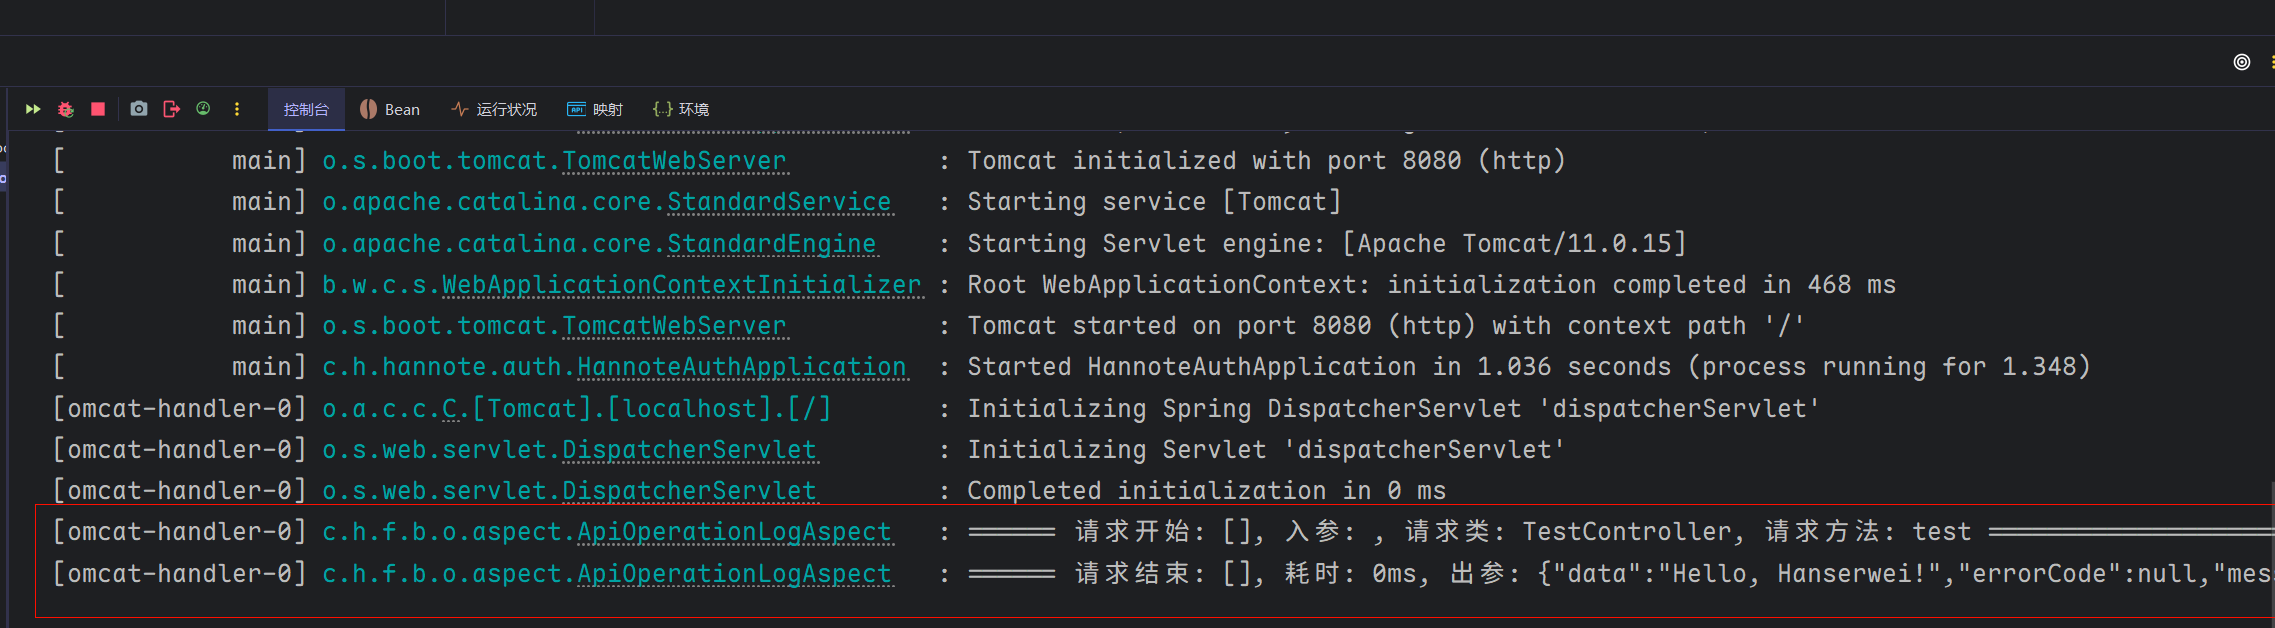
OK , 没有任何问题,自定义的日志切面 starter 工作良好!
8. 测试一下,切面打印出参中包含 Java 8 新日期 API
上面我们讲到,Jackson3已经支持 Java 8 新日志 API 问题。这块也需要单独测试一下:
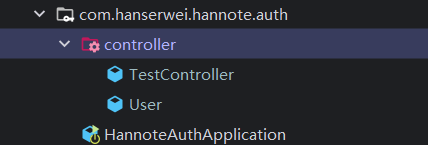
创建一个 User 用户实体类,并添加两个字段,包含一个 LocalDateTime 日期字段,代码如下:
package com.hanserwei.hannote.auth.controller;

import lombok.AllArgsConstructor;
import lombok.Builder;
import lombok.Data;
import lombok.NoArgsConstructor;

import java.time.LocalDateTime;

/**
 * @author hanser
 */
@Data
@AllArgsConstructor
@NoArgsConstructor
@Builder
public class User {
    /**
     * 昵称
     */
    private String nickName;

    /**
     * 创建时间
     */
    private LocalDateTime createTime;
}
编辑 TestController 控制器,新增一个 /test2 接口,代码如下:
@GetMapping("/test2")
@ApiOperationLog(description = "测试接口2")
public Response<User> test2() {
    return Response.success(User.builder()
            .nickName("Hanserwei")
            .createTime(LocalDateTime.now())
            .build());
}
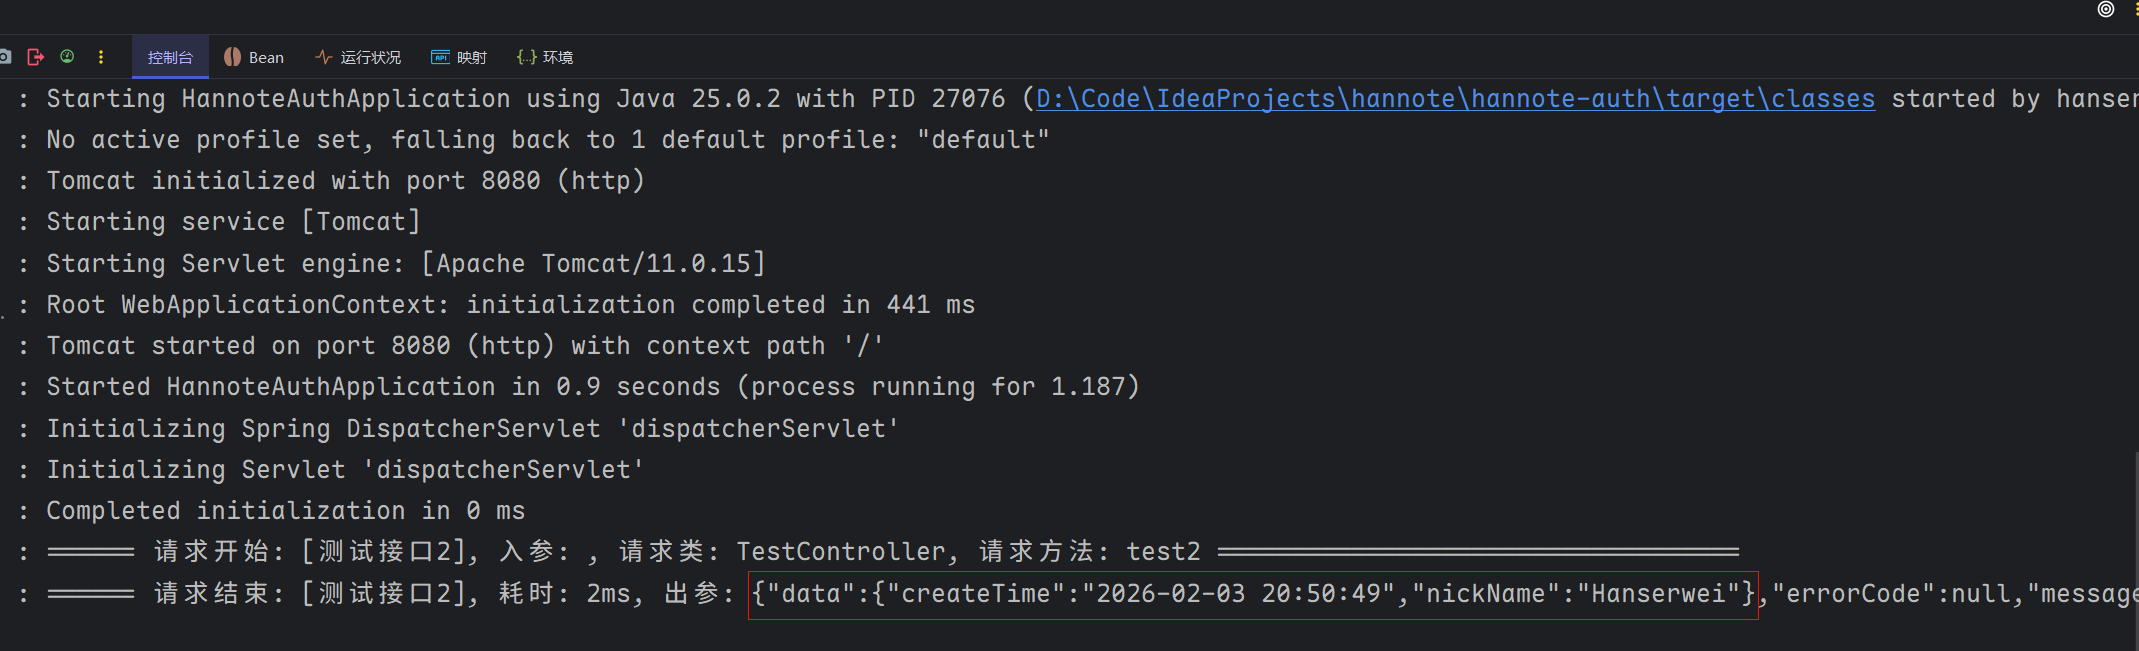
重启项目,浏览器访问: http://localhost:8080/test2 , 观察控制台日志,如下:
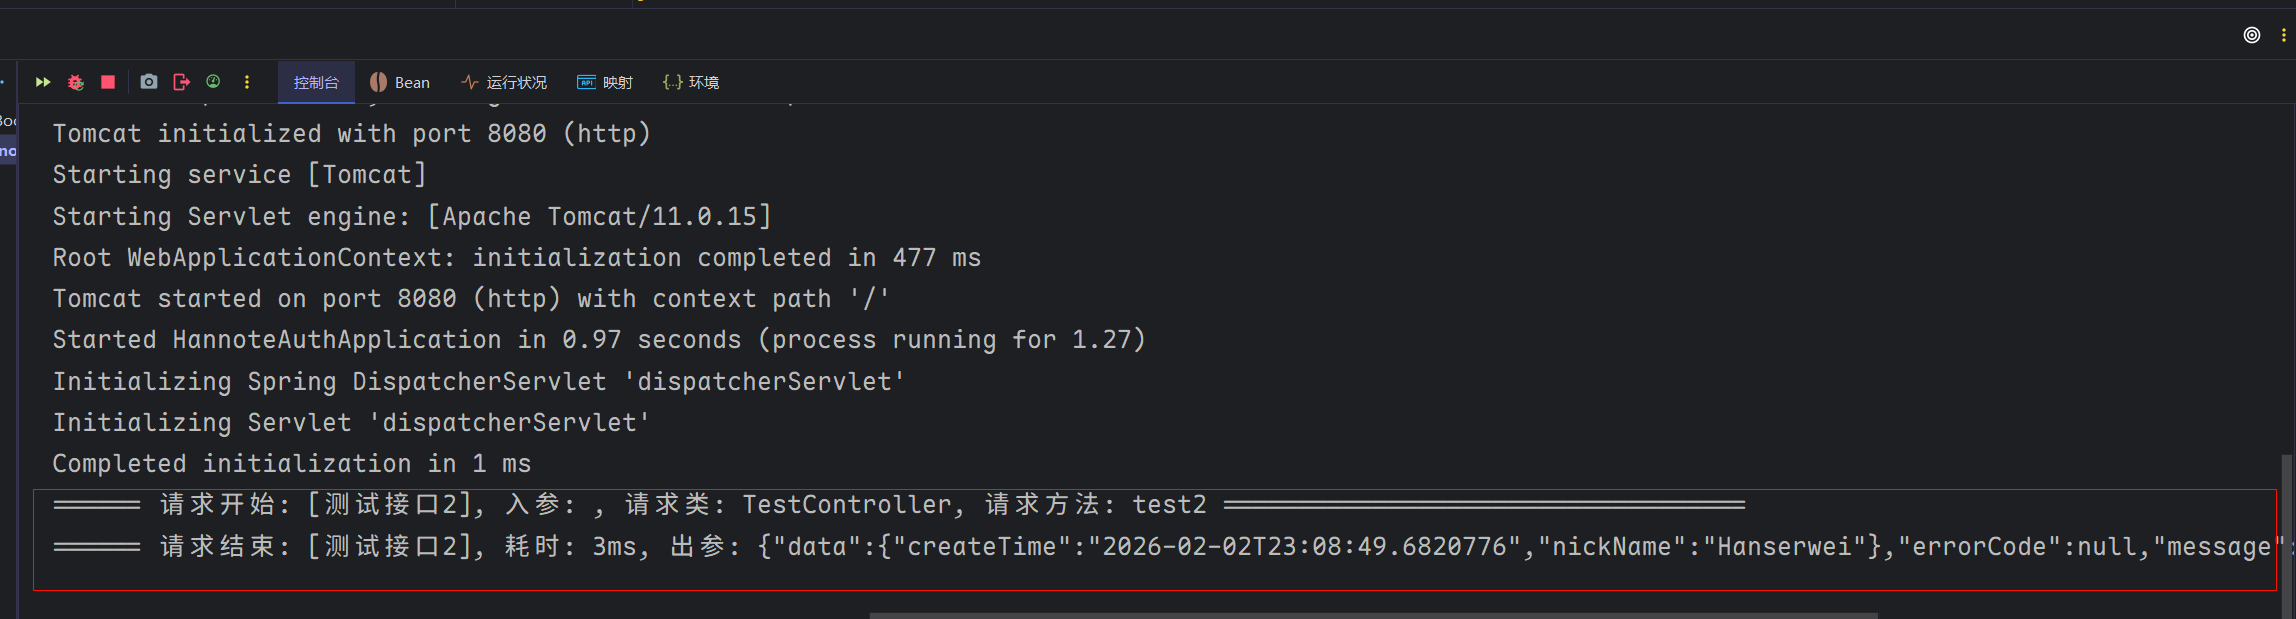
可以看到,即使出参对象中包含 Java 8 新日期 API 字段, 也是正常的,没有出现报异常情况。就是日期序列化格式不太友好,如上图所示。
9. 适配日期序列化格式
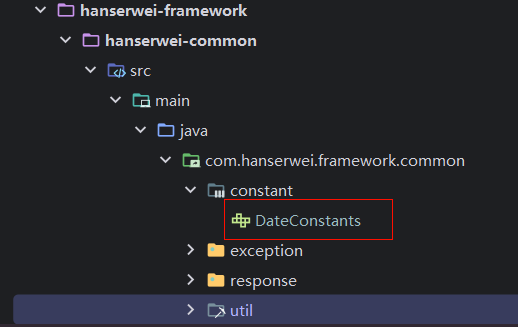
为了解决上述问题,我们需要手动指定 Jackson 日期的序列化和反序列化规则。在 hanserwei-common 通用模块中,新建包 /constant 全局常量包, 并创建 DateConstants 日期常量接口,代码如下:
代码如下:
package com.hanserwei.framework.common.constant;

/**
 * @author hanser
 */
public interface DateConstants {
    /**
     * 年-月-日 时:分:秒
     */
    String Y_M_D_H_M_S_FORMAT = "yyyy-MM-dd HH:mm:ss";
}
接着,编辑 JsonUtils 工具类,手动配置 LocalDateTime 日期格式化规则,注意,Jackson3的配置方法和 Jackson2的配置方式有点区别:
package com.hanserwei.framework.common.util;

import com.hanserwei.framework.common.constant.DateConstants;
import tools.jackson.databind.DeserializationFeature;
import tools.jackson.databind.SerializationFeature;
import tools.jackson.databind.ext.javatime.deser.LocalDateTimeDeserializer;
import tools.jackson.databind.ext.javatime.ser.LocalDateTimeSerializer;
import tools.jackson.databind.json.JsonMapper;
import tools.jackson.databind.module.SimpleModule;

import java.time.LocalDateTime;
import java.time.format.DateTimeFormatter;
import java.util.TimeZone;

/**
 * JSON 工具类,提供对象与 JSON 字符串之间的转换功能
 *
 * @author hanser
 */
public class JsonUtils {

    /**
     * 初始化 Jackson 的 JsonMapper 实例
     */
    private static final JsonMapper JSON_MAPPER;


    static {
        // 创建日期时间格式化器,使用 yyyy-MM-dd HH:mm:ss 格式
        DateTimeFormatter dateTimeFormatter = DateTimeFormatter.ofPattern(DateConstants.Y_M_D_H_M_S_FORMAT);

        // 创建自定义模块,用于注册 LocalDateTime 的序列化和反序列化器
        SimpleModule customizeModule = new SimpleModule();
        // 注册 LocalDateTime 反序列化器,将 JSON 字符串转换为 LocalDateTime 对象
        customizeModule.addDeserializer(LocalDateTime.class, new LocalDateTimeDeserializer(dateTimeFormatter));
        // 注册 LocalDateTime 序列化器,将 LocalDateTime 对象转换为 JSON 字符串
        customizeModule.addSerializer(LocalDateTime.class, new LocalDateTimeSerializer(dateTimeFormatter));

        // 构建 JsonMapper 实例
        JSON_MAPPER = JsonMapper.builder()
                // 在反序列化时,忽略在 JSON 中存在但 Java 对象中不存在的属性,防止报错
                .disable(DeserializationFeature.FAIL_ON_UNKNOWN_PROPERTIES)
                // 在序列化时,允许序列化空的 POJO 类(没有属性的类),防止报错
                .disable(SerializationFeature.FAIL_ON_EMPTY_BEANS)
                // 设置默认时区为东八区(北京时间)
                .defaultTimeZone(TimeZone.getTimeZone("GMT+8"))
                // 添加自定义模块
                .addModule(customizeModule)
                // 自动查找并添加所有可用的 Jackson 模块
                .findAndAddModules()
                .build();
    }

    /**
     * 将对象序列化为 JSON 字符串
     *
     * @param object 需要转换的对象
     * @return 转换后的 JSON 字符串
     */
    public static String toJsonString(Object object) {
        return JSON_MAPPER.writeValueAsString(object);
    }
}
再次重启项目,测试 /test2 接口,观察控制台日志,现在看到日期打印格式就友好多了~
10. 结语
本小节中,我们了解了什么是 Spring Boot Starter , 并自己动手实现了一个日志切面 starter 组件,后续创建新的服务时,只需添加该 starter 组件, 然后,为想要打印接口出入参的接口,添加 @ApiOperationLog 注解,即可快速使用上日志切面功能了,非常方便,有木有!